The TanStack suite of tools is a compelling and modern tech stack which gives developers the ability to build incredibly functional full-stack applications. The suite is powered by Vinxi, which is a JavaScript SDK that builds full-stack apps with Vite so that they can be deployed anywhere JavaScript code is capable of running. The suite provides a first-class front-end developer experience for the client while also incorporating feature-rich back-end server-side expertise, so you can expect to get the best of both worlds.
In 2025, TanStack Start is likely to be quite popular alongside Astro, Next.js and Remix for building React applications. Today, we will explore the basics of some of the most used tools from the TanStack suite and see how versatile they can be for building modern React applications in 2025.
The tools that we are going to be exploring will be:
Setting up TanStack Start and TanStack Router project
Ok, it's time to set up our React project, and TanStack Start is where we begin. Firstly, navigate to a directory on your computer like the desktop, and then use this run script to set up your project:
mkdir tanstack-project
cd tanstack-project
npm create @tanstack/router@latest --legacy-peer-deps
With this script, we create a project folder directory called tanstack-project and install the necessary packages.
As of writing, TanStack Router requires React v18.3.1, so if you have a greater version installed, it might throw an error in your console. The most straightforward workaround is to use the --legacy-peer-deps flag, which can ignore the conflicts caused by the peer dependency. For this simple testing purpose, it's okay; in production, a better workaround is preferred.
Go through the project setup guide for reference, I used this configuration:
Project name: my-router-app
Bundler: Vite
IDE: cursor
To run your application, make sure that you're in the project folder and run these commands:
npm run dev
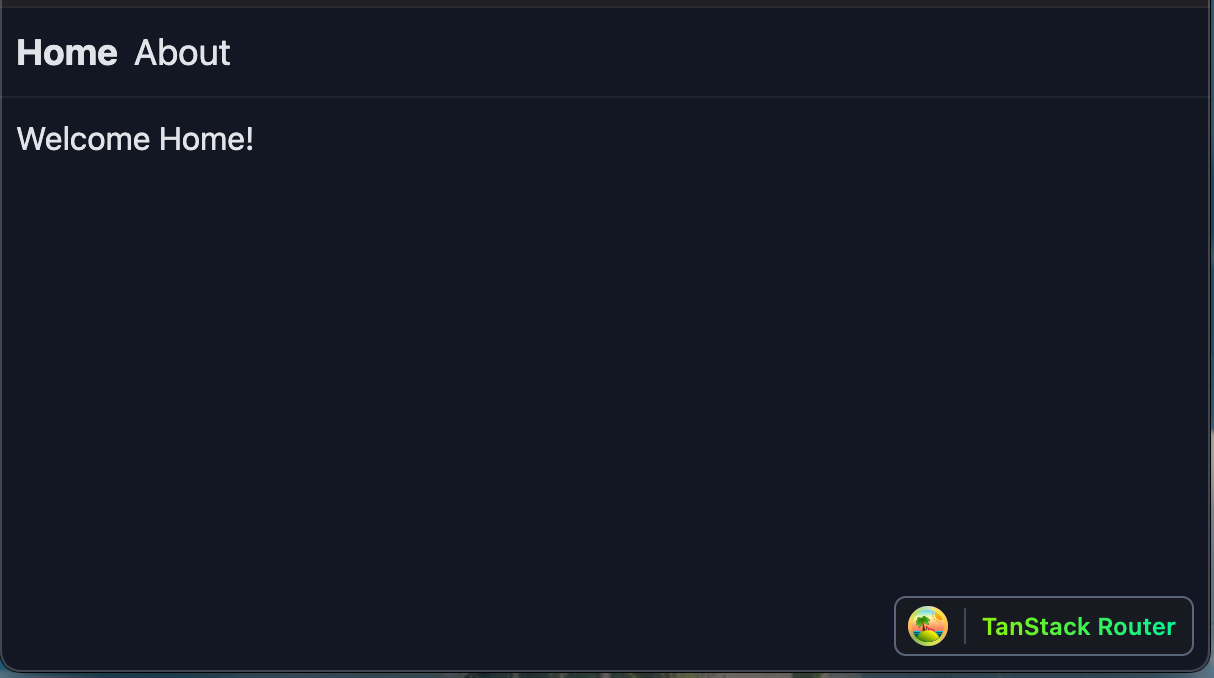
You should now see the default TanStack Router homepage, which has a route for the home and about pages.

Using TanStack Query for state management
We need to get TanStack Query up and running now that we have global state management for our application. So, let's begin by installing the dependencies so run this command in your terminal:
npm install @tanstack/react-query @tanstack/react-query-devtools
With these commands, we can now have access to a global state in our application.
Next, let's create a simple blog using the free JSONPlaceHolder API. The good news is that we only need to update two files to get this working. First, replace and update all of the code in the src/main.tsx file with this new code:
import React from 'react'
import ReactDOM from 'react-dom/client'
import { RouterProvider, createRouter } from '@tanstack/react-router'
import { routeTree } from './routeTree.gen'
import {
  QueryClient,
  QueryClientProvider
} from '@tanstack/react-query'
import { ReactQueryDevtools } from '@tanstack/react-query-devtools'


const queryClient = new QueryClient({
  defaultOptions: {
    queries: {
      staleTime: 1000 * 60 * 5,
      gcTime: 1000 * 60 * 60,
    },
  },
})


const router = createRouter({
  routeTree,
  defaultPreload: 'intent',
})


declare module '@tanstack/react-router' {
  interface Register {
    router: typeof router
  }
}

const rootElement = document.getElementById('app')!

if (!rootElement.innerHTML) {
  const root = ReactDOM.createRoot(rootElement)
  root.render(
    <React.StrictMode>
      <QueryClientProvider client={queryClient}>
        <RouterProvider router={router} />
        <ReactQueryDevtools initialIsOpen={false} />
      </QueryClientProvider>
    </React.StrictMode>
  )
}
This code basically sets up our React Query client so that it works throughout our application. It also has some default query parameters to make it better.
Lastly, let's do the same and replace and update all of the code inside our routes/index.tsx file:
import * as React from 'react'
import { createFileRoute } from '@tanstack/react-router'
import { useQuery } from '@tanstack/react-query'

interface Post {
  id: number;
  title: string;
  body: string;
}

const fetchPosts = async (): Promise<Post[]> => {
  const response = await fetch('https://jsonplaceholder.typicode.com/posts')
  if (!response.ok) {
    throw new Error('Network response was not ok')
  }
  return response.json()
}

export const Route = createFileRoute('/')({
  component: HomeComponent,
})

function HomeComponent() {
  const {
    data: posts,
    isLoading,
    isError,
    error
  } = useQuery<Post[], Error>({
    queryKey: ['posts'],
    queryFn: fetchPosts,
  })

  if (isLoading) {
    return <div>Loading posts...</div>
  }

  if (isError) {
    return <div>Error: {error.message}</div>
  }

  return (
    <div className="p-4">
      <h3 className="text-2xl font-bold mb-4">Welcome Home!</h3>
      <h4 className="text-xl mb-2">Latest Posts:</h4>
      <div className="space-y-4">
        {posts?.slice(0, 5).map((post) => (
          <div key={post.id} className="bg-gray-600 p-3 rounded">
            <h5 className="font-semibold">{post.title}</h5>
            <p>{post.body}</p>
          </div>
        ))}
      </div>
    </div>
  )
}
This file creates a fetchPosts function to retrieve posts from the JSONPlaceholder API, and it also introduces a useQuery hook for fetching the data, handling the state and displaying the data. Tailwind CSS is used for the styling.
You should now have a design that looks like this example:

Creating a TanStack Table to display data
Before we begin with the codebase, we need to install @tanstack/react-table so do so with this script here:
npm install @tanstack/react-table
With our project setup to use TanStack table we can start working on the files. We need to create a folder for components and then create a DataTable.tsx file inside of it.
Add this code to the components/DataTable.tsx file:
import React, { useState } from 'react'
import {
  ColumnDef,
  flexRender,
  getCoreRowModel,
  useReactTable,
} from '@tanstack/react-table'


type Person = {
  firstName: string
  lastName: string
  age: number
  visits: number
  status: string
}

const defaultData: Person[] = [
  {
    firstName: 'John',
    lastName: 'Doe',
    age: 30,
    visits: 5,
    status: 'Active',
  },
  {
    firstName: 'Jane',
    lastName: 'Smith',
    age: 25,
    visits: 3,
    status: 'Inactive',
  },
]


const defaultColumns: ColumnDef<Person>[] = [
  {
    accessorKey: 'firstName',
    header: 'First Name',
    cell: (info) => info.getValue(),
  },
  {
    accessorKey: 'lastName',
    header: 'Last Name',
    cell: (info) => info.getValue(),
  },
  {
    accessorKey: 'age',
    header: 'Age',
    cell: (info) => info.getValue(),
  },
  {
    accessorKey: 'visits',
    header: 'Visits',
    cell: (info) => info.getValue(),
  },
  {
    accessorKey: 'status',
    header: 'Status',
    cell: (info) => info.getValue(),
  },
]

export function DataTable() {
  const [data] = useState(() => [...defaultData])
  const [columns] = useState<ColumnDef<Person>[]>(() => [...defaultColumns])

  const table = useReactTable({
    data,
    columns,
    getCoreRowModel: getCoreRowModel(),
  })

  return (
    <div className="p-2">
      <table className="w-full border-collapse border border-gray-300">
        <thead>
          {table.getHeaderGroups().map((headerGroup) => (
            <tr key={headerGroup.id}>
              {headerGroup.headers.map((header) => (
                <th
                  key={header.id}
                  className="border border-gray-300 p-2 bg-gray-600"
                >
                  {header.isPlaceholder
                    ? null
                    : flexRender(
                        header.column.columnDef.header,
                        header.getContext()
                      )}
                </th>
              ))}
            </tr>
          ))}
        </thead>
        <tbody>
          {table.getRowModel().rows.map((row) => (
            <tr key={row.id} className="hover:bg-gray-800">
              {row.getVisibleCells().map((cell) => (
                <td
                  key={cell.id}
                  className="border border-gray-300 p-2"
                >
                  {flexRender(
                    cell.column.columnDef.cell,
                    cell.getContext()
                  )}
                </td>
              ))}
            </tr>
          ))}
        </tbody>
      </table>
    </div>
  )
}
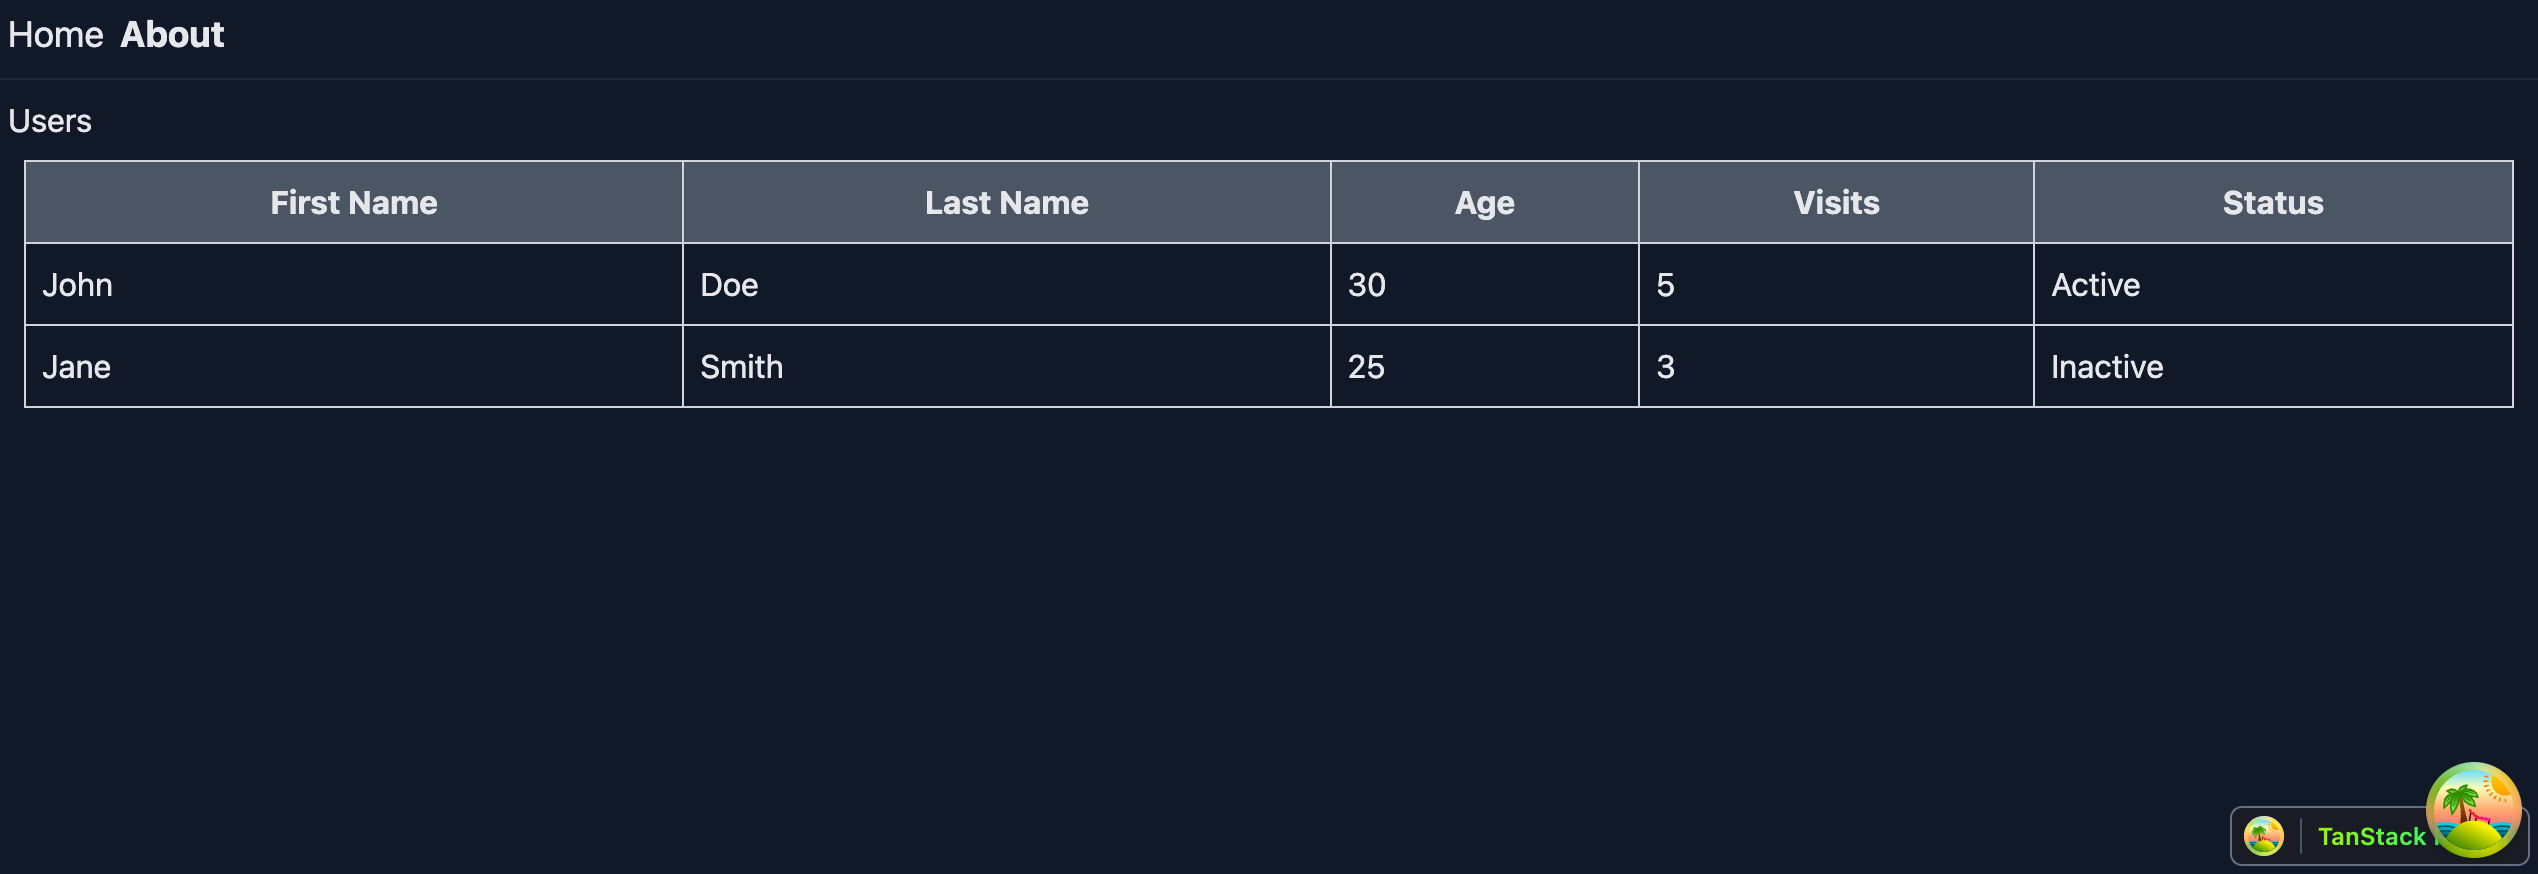
In this file, we create an array of user objects and then output them into our new table, which is created with the TanStack library.
Lastly update the routes/about.tsx file with this code:
import * as React from 'react'
import { createFileRoute } from '@tanstack/react-router'
import { DataTable } from '../components/DataTable'

export const Route = createFileRoute('/about')({
  component: AboutComponent,
})

function AboutComponent() {
  return (
    <div className="p-2">
      <h3>Users</h3>
      <DataTable />
    </div>
  )
}
This code updates our about page with a new heading for users and also implements our new data table onto the page. Your About page should now have a table like this example:

Adding TanStack Form for actions
Lastly, let's complete our application by adding a form to our About page. Like in our previous examples, the first thing that we need to do is add the packages to our application.
Use this script to install them:
npm install @tanstack/react-form zod
We installed TanStack form and Zod, which is used for form validation.
All right all we have to do now is update our routes/about.tsx file with this new code which has our form and our application is complete:
import * as React from 'react'
import { createFileRoute } from '@tanstack/react-router'
import { DataTable } from '../components/DataTable'
import { useForm } from '@tanstack/react-form'
import { z } from 'zod'

const formSchema = z.object({
  firstName: z.string().min(2, 'First name must be at least 2 characters'),
  lastName: z.string().min(2, 'Last name must be at least 2 characters'),
  age: z.coerce.number().min(0, 'Age must be a positive number'),
})

type FormValues = z.infer<typeof formSchema>

export const Route = createFileRoute('/about')({
  component: AboutComponent,
})

function AboutComponent() {
  const [errors, setErrors] = React.useState<Record<string, string>>({})
  const [formState, setFormState] = React.useState<FormValues>({
    firstName: '',
    lastName: '',
    age: 0,
  })

  const form = useForm<FormValues>({
    defaultValues: formState,
    onSubmit: async ({ value }) => {
      try {
        const validatedData = formSchema.parse(value)
        console.log('Form submitted:', validatedData)
        setErrors({})
        setFormState(validatedData)
      } catch (err) {
        if (err instanceof z.ZodError) {
          const newErrors: Record<string, string> = {}
          err.errors.forEach((error) => {
            if (error.path[0]) {
              newErrors[error.path[0] as string] = error.message
            }
          })
          setErrors(newErrors)
        }
      }
    },
  })

  const validateField = (field: keyof FormValues, value: string | number) => {
    try {
      formSchema.shape[field].parse(value)
      setErrors(prev => ({ ...prev, [field]: '' }))
    } catch (err) {
      if (err instanceof z.ZodError) {
        setErrors(prev => ({ ...prev, [field]: err.errors[0].message }))
      }
    }
  }

  return (
    <div className="p-2 max-w-md mx-auto">
      <h3 className="text-2xl mb-4">Users</h3>
      <DataTable />

      <h3 className="text-2xl mt-6 mb-4">User Registration</h3>
      <form
        onSubmit={(e) => {
          e.preventDefault()
          e.stopPropagation()
          void form.handleSubmit()
        }}
        className="space-y-4"
      >
        <div>
          <label htmlFor="firstName" className="block mb-2">First Name</label>
          <input
            id="firstName"
            type="text"
            value={form.state.values.firstName}
            onChange={(e) => {
              const value = e.target.value
              form.setFieldValue('firstName', value)
              validateField('firstName', value)
            }}
            className="w-full p-2 border rounded"
          />
          {errors.firstName && (
            <p className="text-red-500 text-sm mt-1">
              {errors.firstName}
            </p>
          )}
        </div>

        <div>
          <label htmlFor="lastName" className="block mb-2">Last Name</label>
          <input
            id="lastName"
            type="text"
            value={form.state.values.lastName}
            onChange={(e) => {
              const value = e.target.value
              form.setFieldValue('lastName', value)
              validateField('lastName', value)
            }}
            className="w-full p-2 border rounded"
          />
          {errors.lastName && (
            <p className="text-red-500 text-sm mt-1">
              {errors.lastName}
            </p>
          )}
        </div>

        <div>
          <label htmlFor="age" className="block mb-2">Age</label>
          <input
            id="age"
            type="number"
            value={form.state.values.age}
            onChange={(e) => {
              const value = Number(e.target.value)
              form.setFieldValue('age', value)
              validateField('age', value)
            }}
            className="w-full p-2 border rounded"
          />
          {errors.age && (
            <p className="text-red-500 text-sm mt-1">
              {errors.age}
            </p>
          )}
        </div>

        <button
          type="submit"
          className="w-full bg-blue-500 text-white p-2 rounded hover:bg-blue-600"
        >
          Submit
        </button>
      </form>

      <div className="mt-6 p-4 bg-gray-600 rounded">
        <h3 className="text-xl mb-2">Current Form State</h3>
        <pre className="bg-slate-200 p-2 rounded text-black">
          {JSON.stringify(formState, null, 2)}
        </pre>
      </div>
    </div>
  )
}
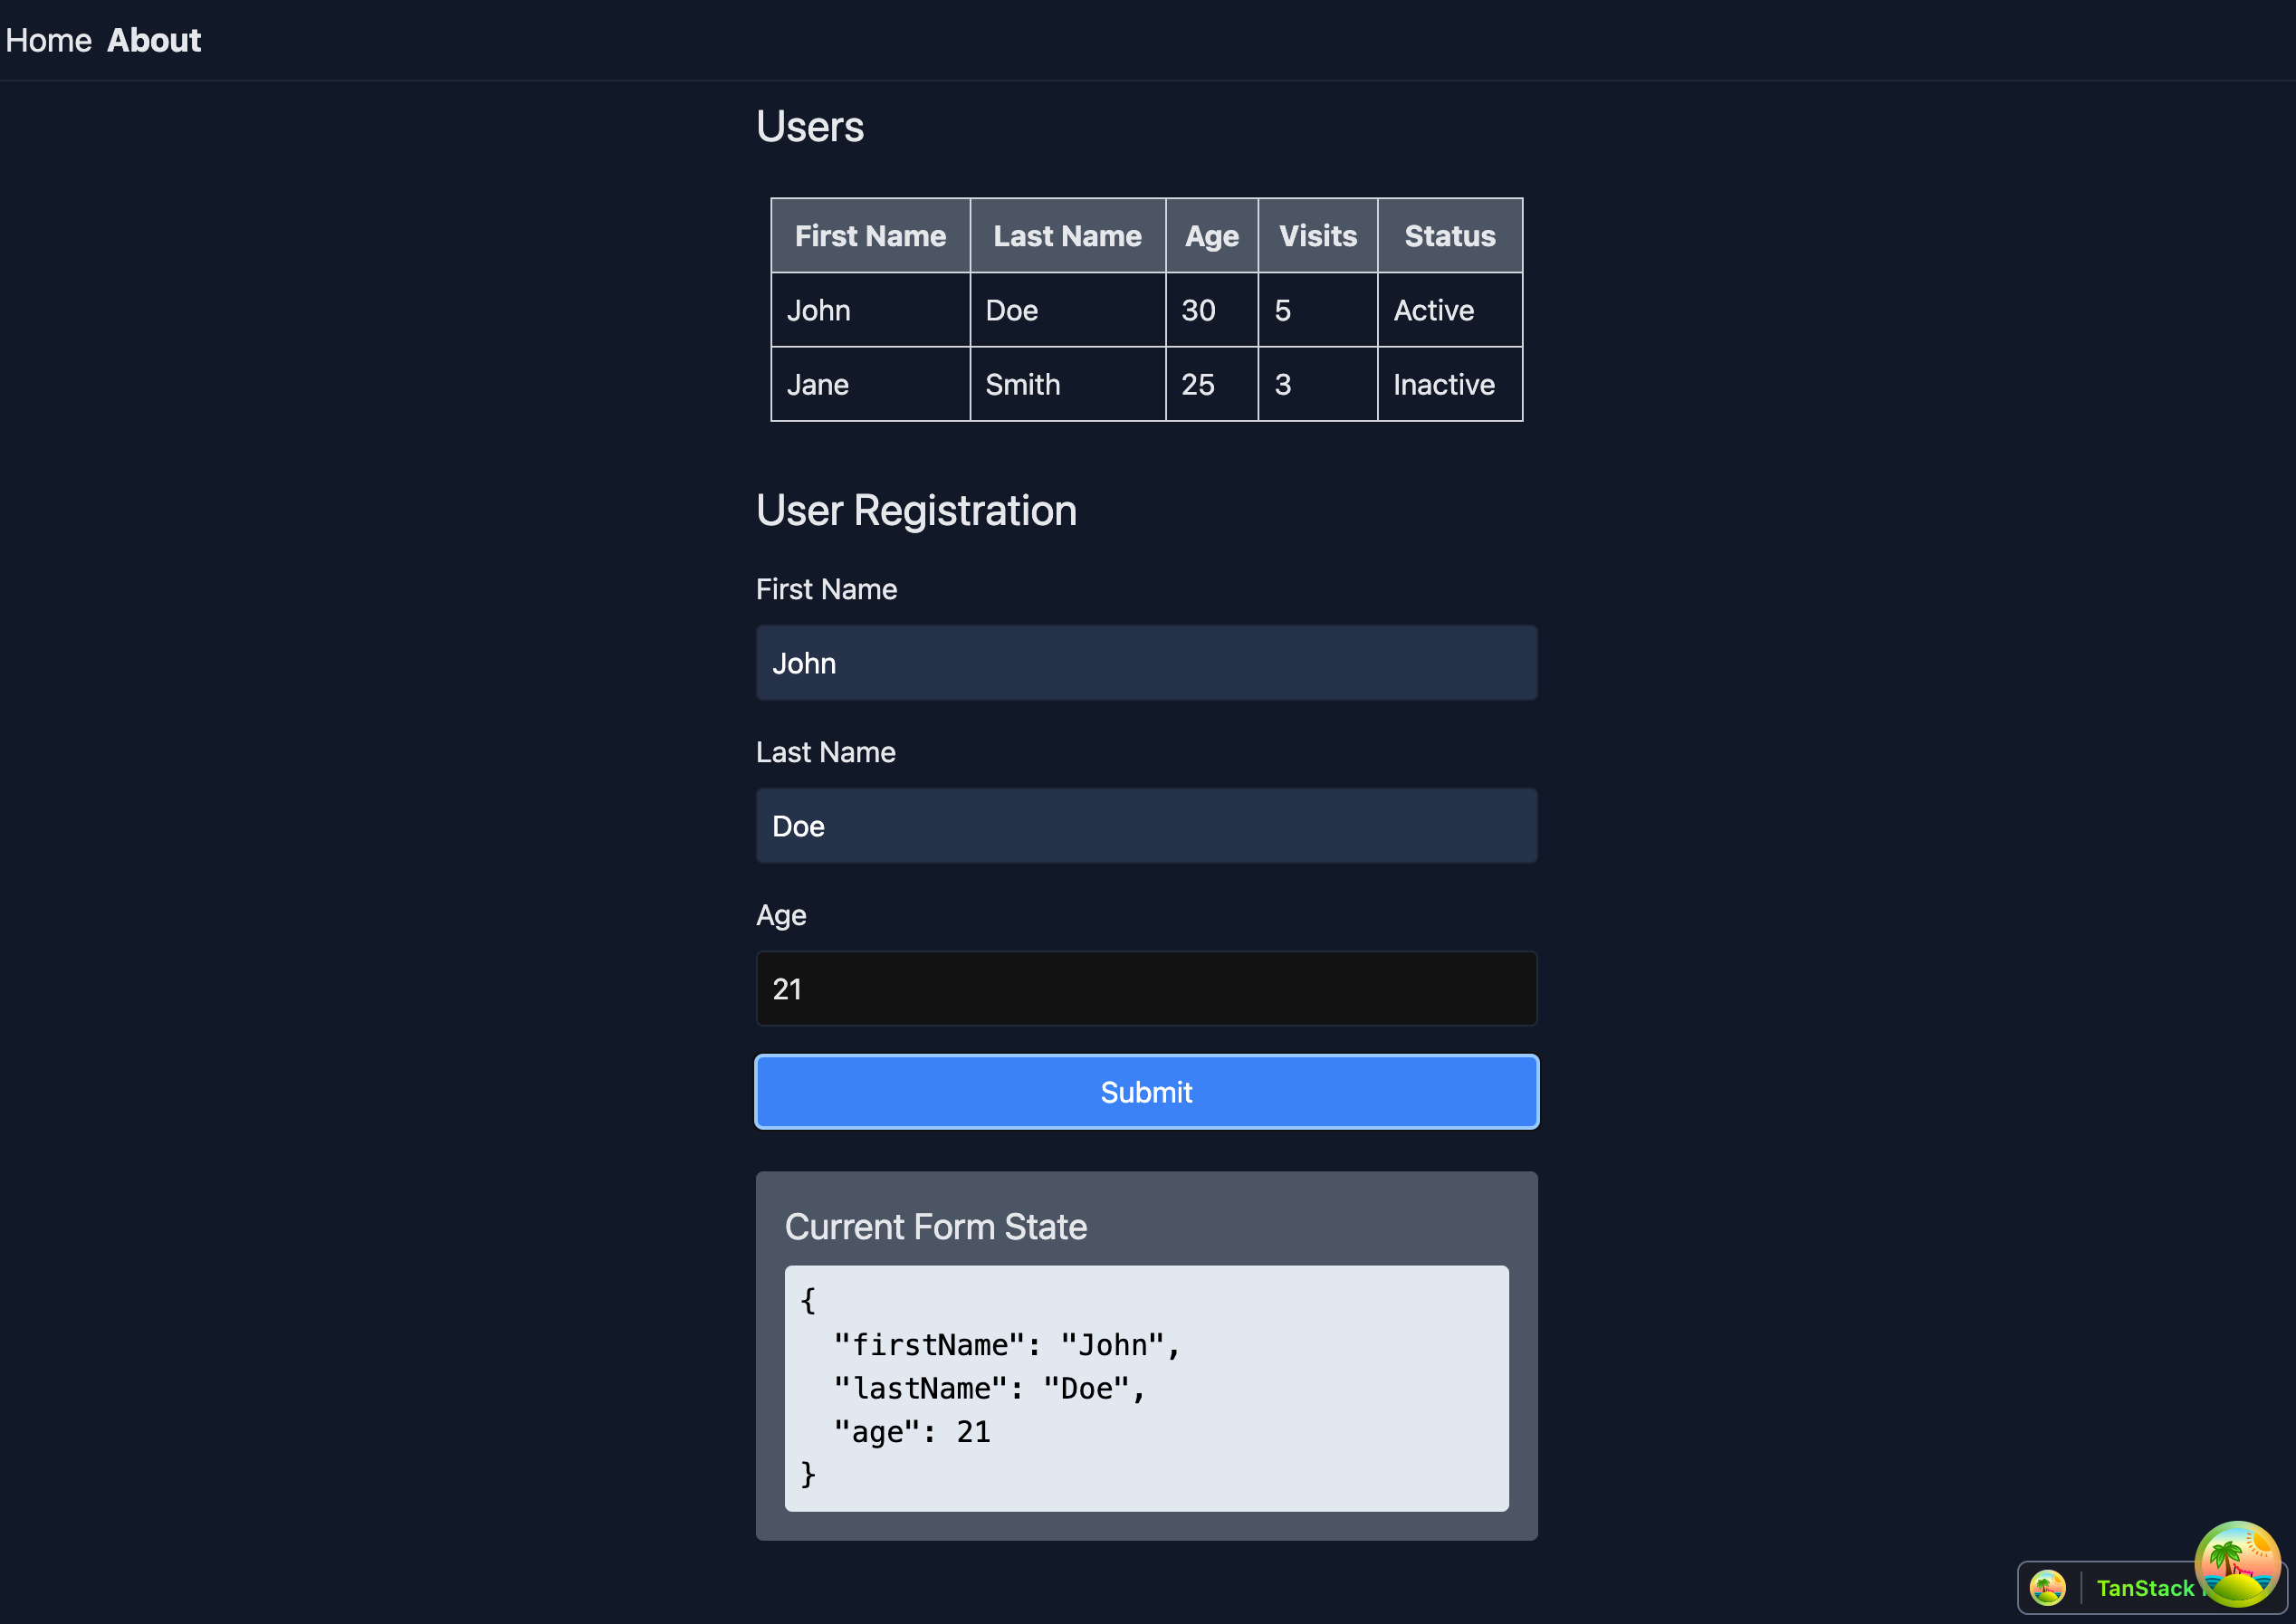
This code adds a user registration form to our About page, which also has form validation. The form outputs the data as state on the page. See the example below. Your About page should look the same:

Conclusion
The TanStack suite of tools can be used to build very advanced applications. Multiple tools can even be integrated and used in other frameworks like Astro, Next.js and Remix. When used together, they can provide an all-in-one solution for your project. Today, we covered the basics of routing, querying state, building tables and creating forms. I highly recommend that you read the official TanStack documentation because we have only scratched the surface. There is so much more you can do, and the documentation covers everything.
The TanStack suite also includes TanStack Virtual, which creates scrollable elements, TanStack Ranger, which builds multi-range sliders, TanStack Store, which creates even more powerful state management, and TanStack Config, which configures and publishes JavaScript packages. With this versatility, it's easy to see how the TanStack suite of tools can provide the means for developing highly performance and feature-rich React applications in 2025.
Stay up to date with tech, programming, productivity, and AI
If you enjoyed these articles, connect and follow me across social media, where I share content related to all of these topics 🔥


