


Subscribe to my newsletter to stay up to date on all of my upcoming articles. In the future, I plan to do some giveaways and share some more cool exclusives 😉
Introduction ✍️
This year I created a new portfolio website to replace the one which I had last year. I like to create a new website every year when I can because it is refreshing to have something new to look at. As you progress and grow as a developer, it is nice to have a timeline with a career history to go alongside it.
Why It's Good To Have a Portfolio 👨💻
This is a topic which constantly gets debated online. Some developers believe that you should have a portfolio to showcase your work, services and skills. Others believe that portfolio websites are not as necessary these days and that a good GitHub profile with lots of up-to-date projects on it is more than good enough to use as a portfolio. I agree with both statements because they have their pros and cons.
However, I think that portfolio websites are still worth creating. For starters, it gives you a personal project to work on and you can do whatever you want with it. It's a good opportunity to test out a new technical stack and create a website for your brand. And obviously, it's a project that you can put on your GitHub as well.
This time around I decided to create a more simplified website without a portfolio section. I figured that I could just use my GitHub profile for showcasing my projects and use my portfolio as a Linktree type of website. So essentially a one-page website that has basic information about me with external links to all of my profiles.
The Technical Stack 📦
You can see the technical stack listed below.
🖼 Design: Figma
🌐 Front-end: HTML, CSS, TypeScript, React, Storybook
⚙️ Back-end: N/A
🏗 Deployment: Netlify
Creating a Minimum Viable Project 🎬
I treated this project like it was a Minimum Viable Project (MVP). It is a good idea to get yourself accustomed to working in such a way because these skills, methodology and knowledge will apply to most projects that you work on during your career.
A typical MVP could follow the pattern of steps outlined below:
Step 1: Brainstorming
Before you start to do anything it's best to come up with some ideas first. This can include figuring out the brand, colours, typefaces, external inspiration etc...
Step 2: User flow/Journey
The procedure by which a user interacts with a product.
Step 3: Low Fidelity Wireframe
Low-fidelity wireframes are the preliminary designs used before designing the website and app screens. They commonly feature the placeholder text "lorem ipsum."
Step 4: High Fidelity Wireframe And Design System
In the last stages of the design process, high-fidelity wireframes are utilised to show the look and feel of the product. They usually have actual content rather than placeholders. The designer would also build the design system at this step, which may include brand colours, typefaces, and design criteria.
Step 5: Prototype
Prototypes are working versions of the final application built by the design team. They have functional interactions and may be used to demonstrate how displays travel, transitions, click events, and other features.
Step 6: Development Back-End
A back-end developer would work on the API, databases, servers, and everything else relevant to the architecture.
Step 7: Development Front-End
It depends on the individual whether they like to start working on the back-end or front-end. I like to start with a back-end that is operational and has real data. A front-end developer would focus on the UI/UX at this stage and connect the application to the back-end or any test data. The developer would aim to replicate the designer's design system on the front end so that they are the same and as pixel-perfect as possible.
Step 8: Deployment
The MVP should be officially launched once every stage has been completed. Both the front-end and the back-end have to be operational or at least in a test stage. Launching the final build and finishing the project's initial iteration would thus be the last step.
What I learned 💡
Design Phase
I had a lot of fun in the design phase while using Figma. It is my original design which I created from scratch. I already had a lot of experience with Figma but this project improved my design skills even more! I learned that it's possible to design anything you want so you don't always have to source assets from other websites when you can design them yourself.
Figma has become my favourite design tool and every single asset that you can see in that cool city background was created by me using Figma. A really important thing that I learned was how to export all of the layers as SVG assets that have IDs attached to them. This was very important because it allowed me to create a light and dark theme by dynamically changing the code's colours.
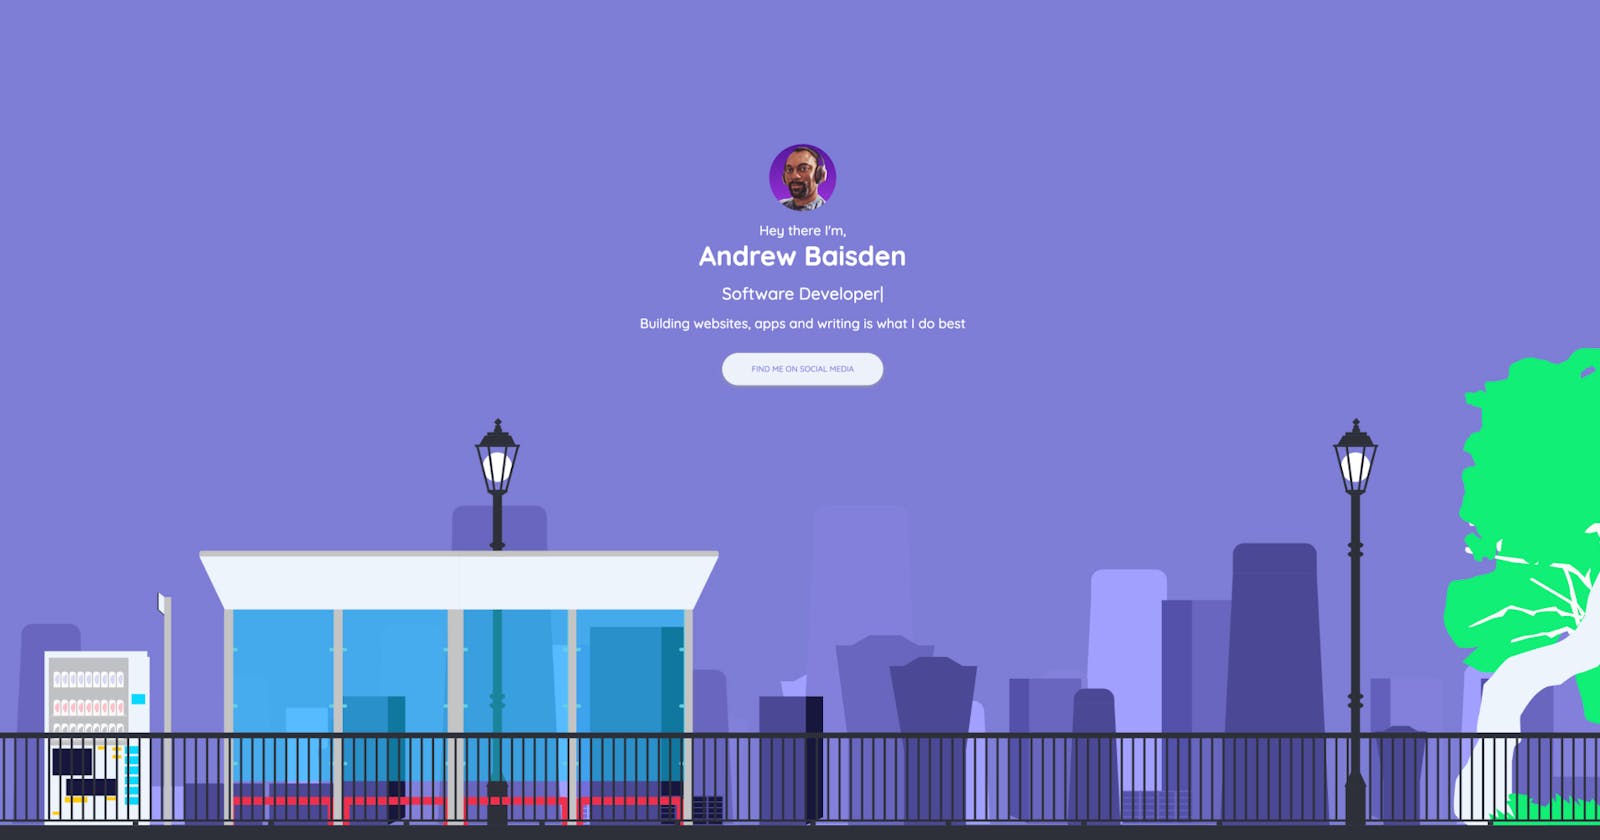
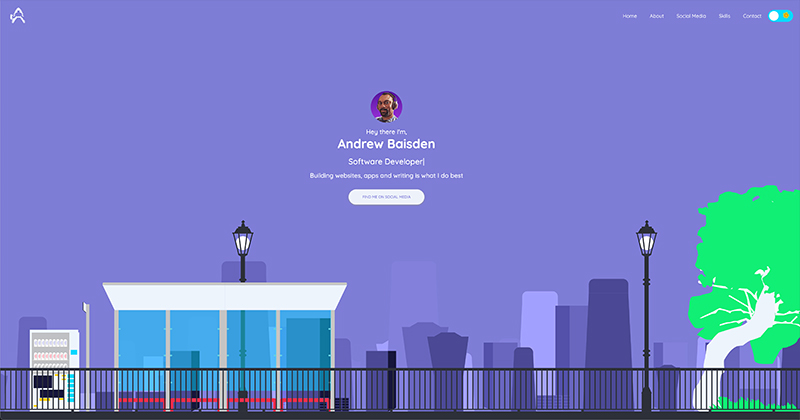
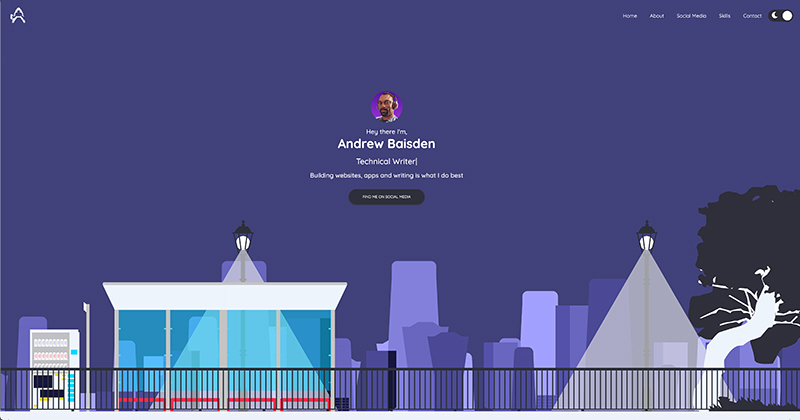
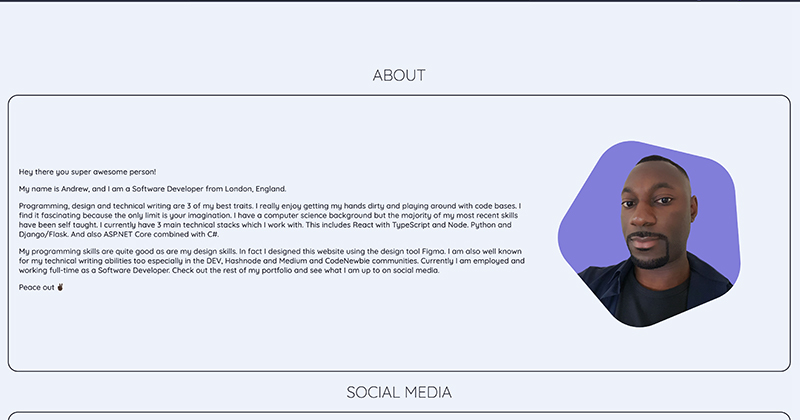
The website is online at https://andrewbaisden.com/ and you can see the light and dark themes below in the images.
Home Screen
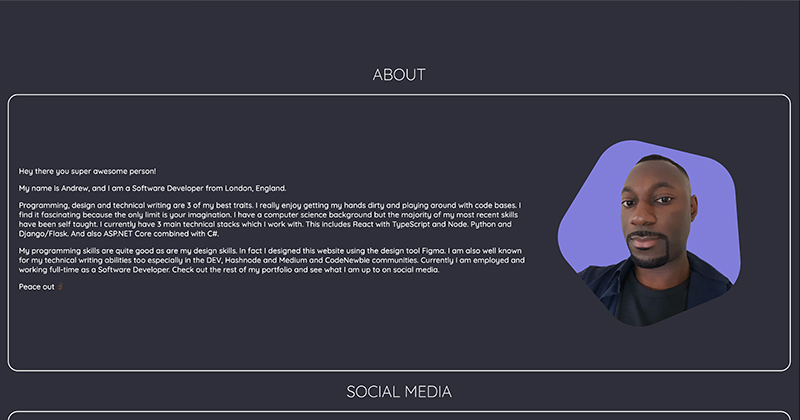
About Screen
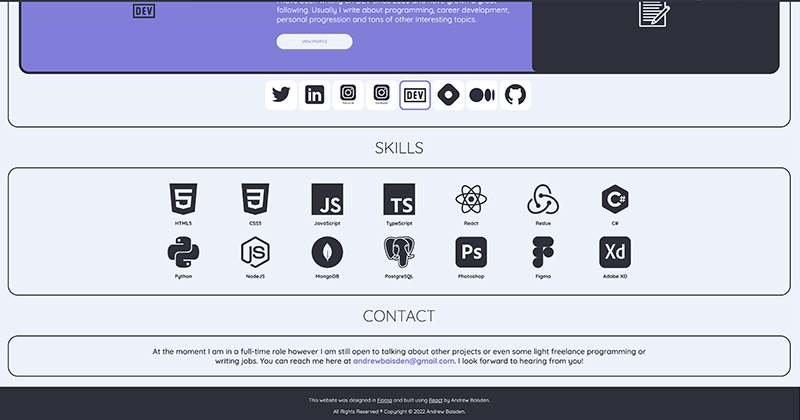
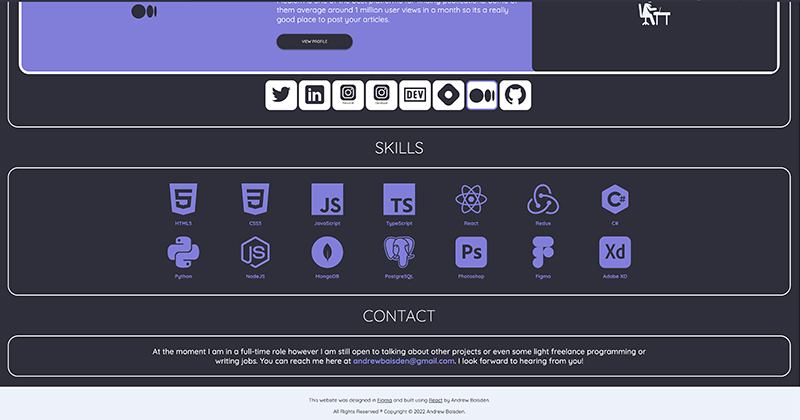
Social Media Screen

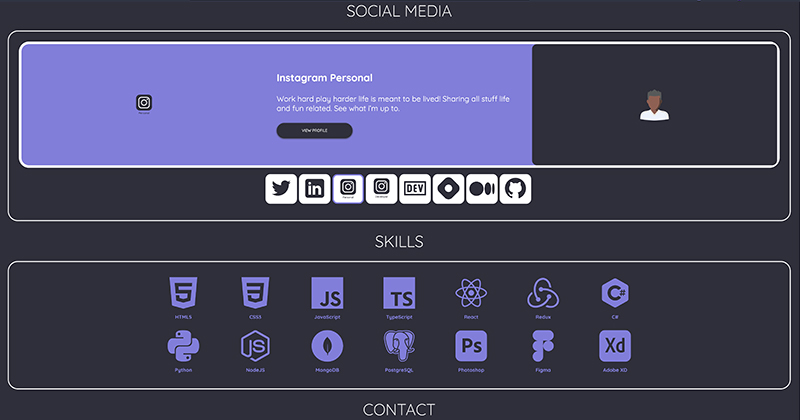
Skills and Contact Screen
Programming Phase
For this website, I choose to use create-react-app for the development. The code was written in TypeScript and I used Storybook for the component asset library. The technical stack was not super advanced but it did not need to because it was only going to be a one-page website. I used the React Responsive Carousel package to create the slider in the social media section.
In future projects, I will likely use Next.js or Vite.js because they offer more customisations over the standard create-react-app package.
Thanks for your time 🕐
Words hold so much power and can change your perception of reality. Writing is an incredible medium for sharing thoughts, knowledge and learning which is why I enjoy doing it so much. Connecting and networking is a fantastic way to grow your social network and this can lead to so many doors opening with both personal and career opportunities that can come your way.
I appreciate you taking the time to read my content and I hope it helps you grow and accomplish all of your life dreams. Let's connect and make the future brighter you can find all of my main profiles on Limey.