If you enjoy this topic, you will probably like my articles, tweets, and stuff. If you're wondering, check out my social media profiles and don't forget to subscribe and follow since I'm offering programming and motivating tools and information to help you achieve your dreams.
What is HarperDB?
HarperDB is a data management platform that supports SQL and NoSQL. It is completely indexed, avoids data duplication, and may be executed on any device. All of the data is hosted in the cloud. You can run standard SQL queries, such as joins, inserts, updates, and deletes, on both structured and unstructured data using the HarperDB query engine.
Using a Linux distro for development
There are numerous advantages to using a Linux distro as your main development environment. One of the most popular Linux distros is Ubuntu. Some of the benefits of using Linux include:
- Customisations which enable the user to personalise the OS to their liking
- The low costs because Linux is free for everyone to use
- Powerful privacy and security
- It's high performance
- And a lot more!
Setting up HarperDB on Ubuntu
Creating a HarperDB account
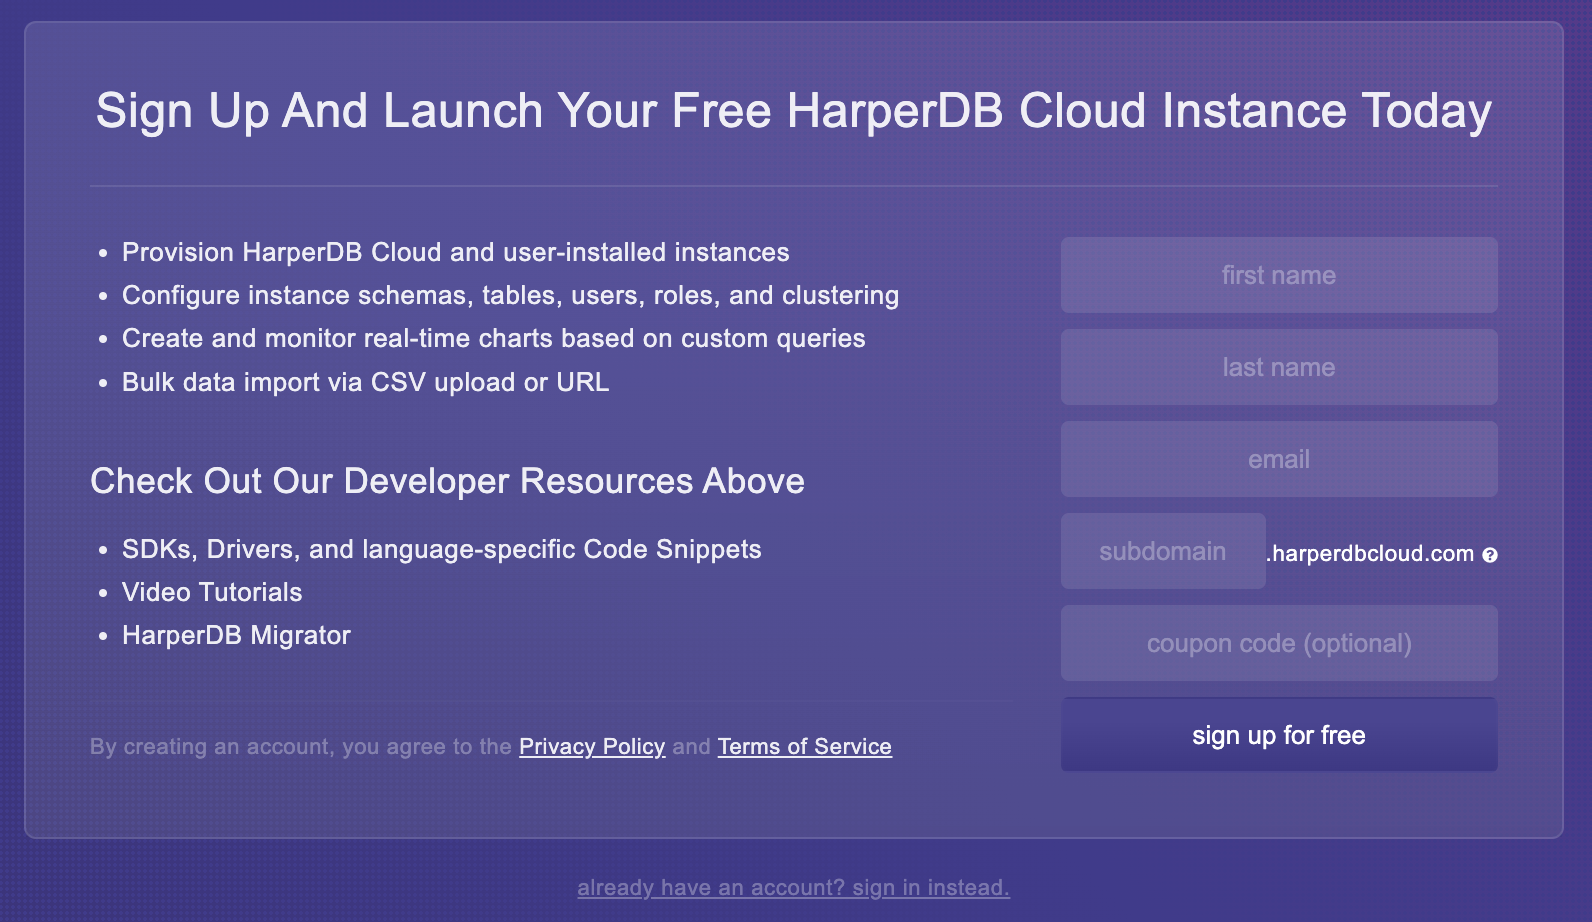
Today we will learn how to set up HarperDB locally on Ubuntu so that you can manage all of your databases. Before we begin you need to ensure that you have created an account on HarperDB so that we have an account with a database to connect to. Go to the main website for HarperDBand create a FREE account. You should see a sign up page that looks like the image below.
Setting up a Linux environment
Using virtualisation tools
It can be quite overwhelming for beginners to understand how Linux works and which distro to choose. In this tutorial we are going to be using virtualisation to get Linux up and running on your computer. This will work on both macOS and Windows computers.
Firstly you will have to decide on which virtualisation software you want to use. I have listed a few below for macOS and Windows.
macOS
Parallels (Paid but also comes with a free trial) UTM (free) VirtualBox (free but as of writing it does not have good support for Apple Silicon Macs)
Windows
VirtualBox (free) Windows with WSL (free) Parallels (Paid but also comes with a free trial)
Downloading the build image
This step is incredibly important so make sure that you are doing it right. You have to download a build image which is compatible with your operating system. If you are unsure of the processor your computer has you can do a google search for "macos find processor" or "windows find processor".
The build image should be a file type that ends with .iso. So for example jammy-desktop-arm64.iso. When you have downloaded the build file follow the install and setup instructions for the virtualisation tool which you decided to use.
AMD and Intel Processors
If your computer is based on the AMD64 or EM64T architecture (e.g., Athlon64, Opteron, EM64T Xeon, Core 2) then you should download the 64-bit PC (AMD64) desktop image.
ARM Processors
If your computer is based on ARMv8/AArch64 then you should download the desktop image for 64-bit ARM (ARMv8/AArch64) computers. The latest Apple MacBooks have Apple Silicon processors which are based on ARM architecture.
Installing HarperDB on Ubuntu
Assuming everything went well you should now have a working Linux environment setup on your computer. If you chose to use Windows with WSL then you won't have a GUI (Graphical User Interface) for Ubuntu Linux because you will be using the command line in Windows to access Linux.
Now go to the main menu in Linux which should be on the left and click the button to show all applications. Now click on the icon for the Terminal app and open it. Copy and paste the commands below into the Terminal and then press the enter key to run them. These commands will update all of your packages in Ubuntu.
sudo apt update
sudo apt upgrade
Next, let's install nvm (Node Version Manager) so that we can install node packages in Linux. Pu the command below into your Terminal and run it.
curl -o- https://raw.githubusercontent.com/nvm-sh/nvm/v0.39.2/install.sh | bash
Now restart your Terminal and run the commands below and you should be able to see the version of nvm, node and npm that you have installed.
nvm --version
node -version
npm -version
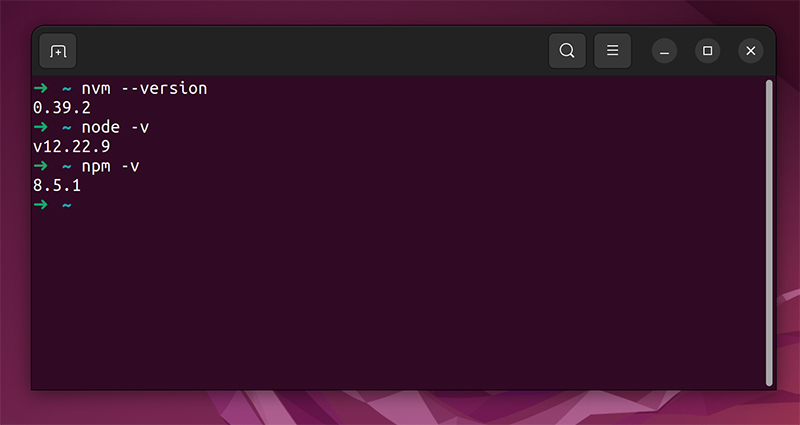
Via the command line, nvm enables rapid installation and usage of various node versions. So we can switch node versions on the fly which is really good for development. The current version of HarperDB supports Node v14.20.0 so we need to install that version. If it ever changes you can just use nvm to change it.
Use the command below to install Node v14.20.0 on Ubuntu.
nvm install 14.20.0
It should automatically switch to Node v14.20.0 and you can verify this with node -v. You can find the full list of nvm commands on their GitHub repo https://github.com/nvm-sh/nvm.
Let's install HarperDB now so run the install command in your Terminal.
npm install -g harperdb
You can check the version you have installed with the command harperdb version. The full list of commands can be found here https://harperdb.io/docs/administration/harperdb-cli/.
To get HarperDB up and running after the install is completed just run the following command.
harperdb run
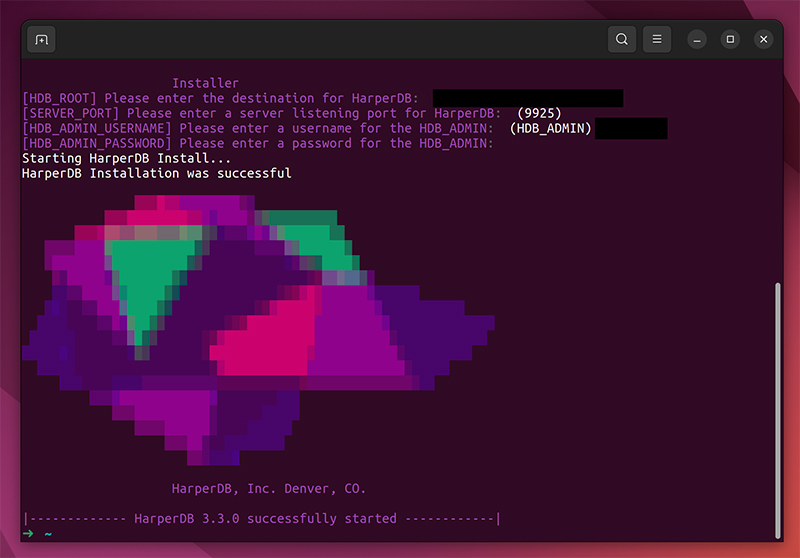
Follow the setup instructions and you should have a successfully started screen like the one below.
The setup will ask for the following details so create a new username and password for your local instance because it is not going to be connecting to the online cloud HarperDB database which you probably created earlier.
HarperDB Root: The default should be fine Server Port: 9925 HarperDB Username: Your username HarperDB Password: Your password
You can stop and restart HarperDB with these commands.
harperdb stop
harperdb restart
Well done you have successfully setup HarperDB on Ubuntu.
Connecting to our local HarperDB instance
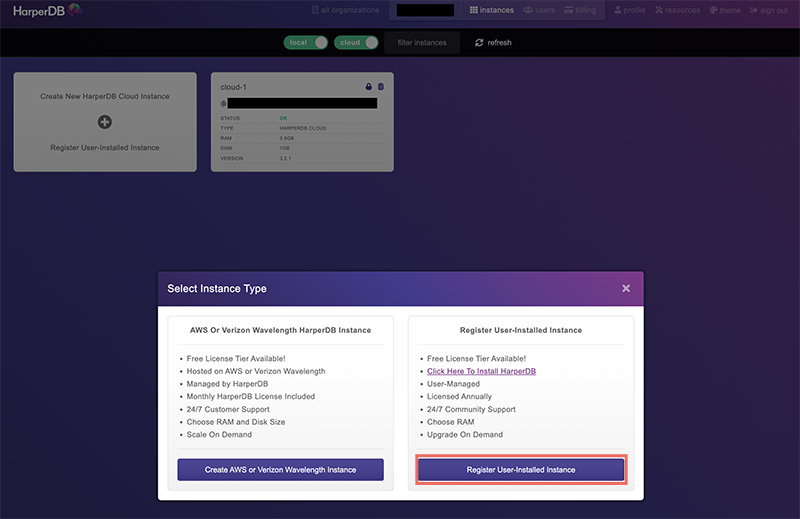
We now have our own local instance it's time to connect to it. Go to the HarperDB website inside of Ubuntu, and sign into your account. You need to do it from inside of Ubuntu because the host will be set to localhost on your Ubuntu machine. Now click on the Register User-Installed Instance button.
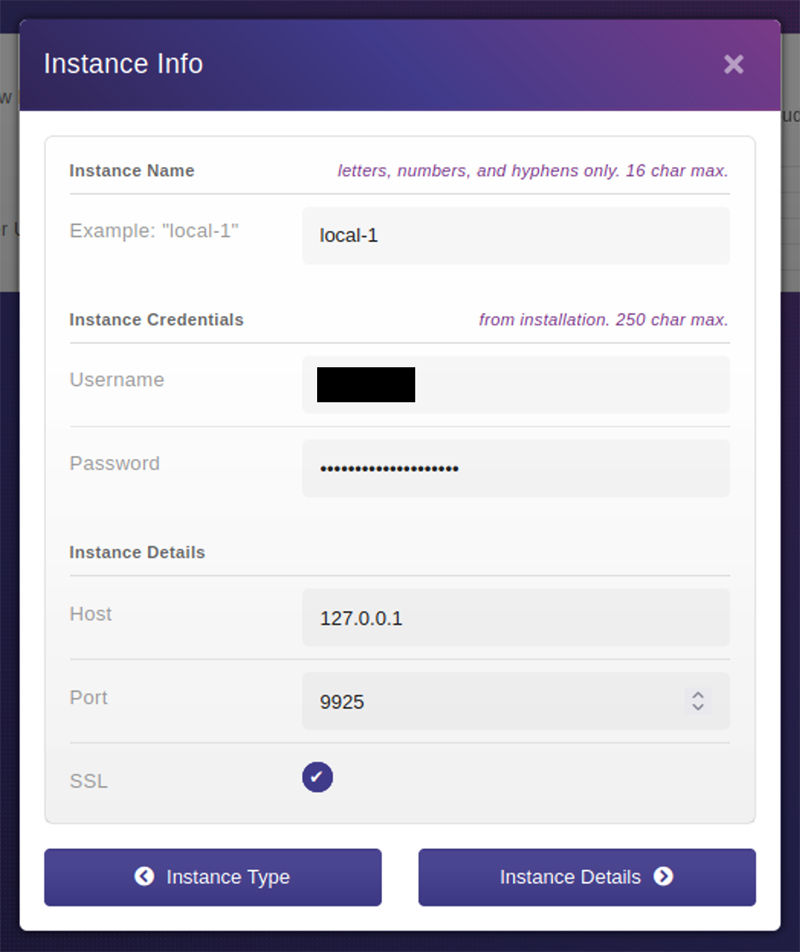
Fill in your instance info like in the example image below. You might see a warning message that says "You may need to accept the instances self-signed cert". Accept it and proceed if you get a screen that says "your connection is not private" or something similar.
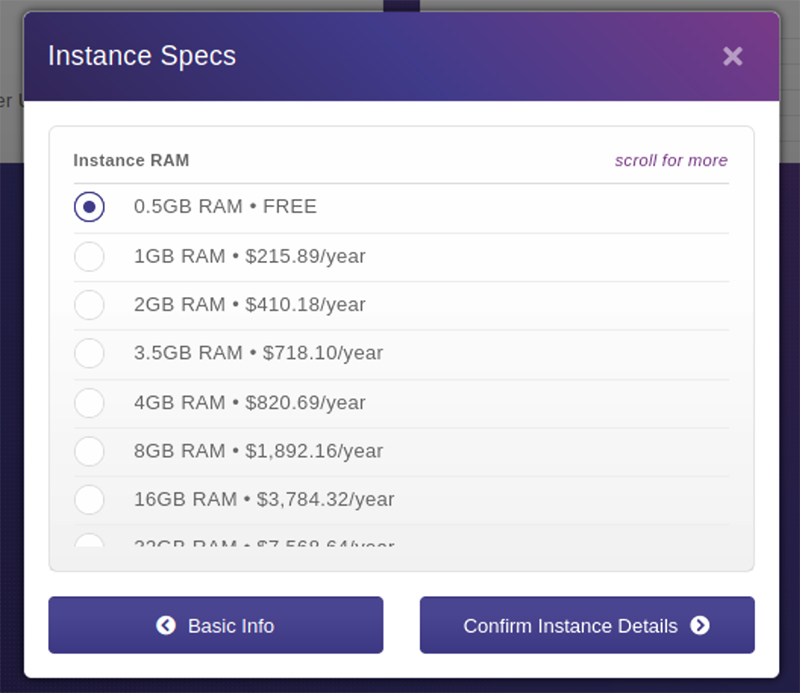
Select the free plan, agree to the terms and add the instance.
That's it your instance should be live now so you can click on it and use it like a normal HarperDB instance.
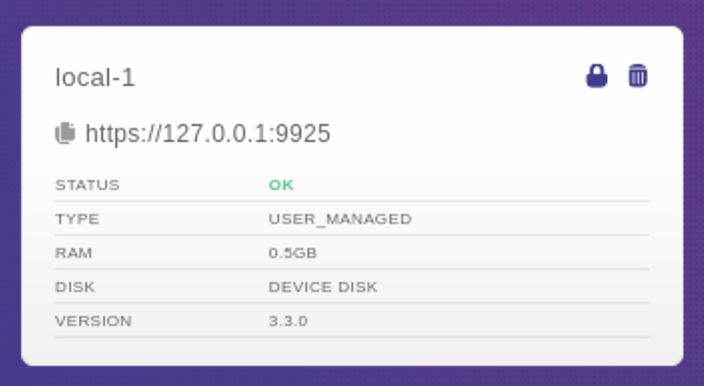
Congratulations you just learned how to set up and connect to HarperDB on Ubuntu. There is one very important thing that you need to be aware of. You can only access your local HarperDB instance from your Ubuntu machine as it's connected to localhost there. So it's not going to let you login from another OS.
However there is a possible solution that might work. You need to expose localhost to the internet. If you do a google search for "Localhost to public URL" or "expose localhost to public internet" you will find some solutions. Creating an account on ngrok or using the npm package Localtunnel are two ways to do it. So in theory instead of using localhost (127.0.0.1) as the host address you will use whatever public address they give you. Either way you will learn how to expose localhost to the internet which could come in useful.
If you like this article, chances are that you would like my posts, tweets and content as well. If you are curious, have a look at my social media profiles and don't forget to subscribe and follow because I am sharing programming and motivation resources and knowledge to support you in achieving your goals 💫

